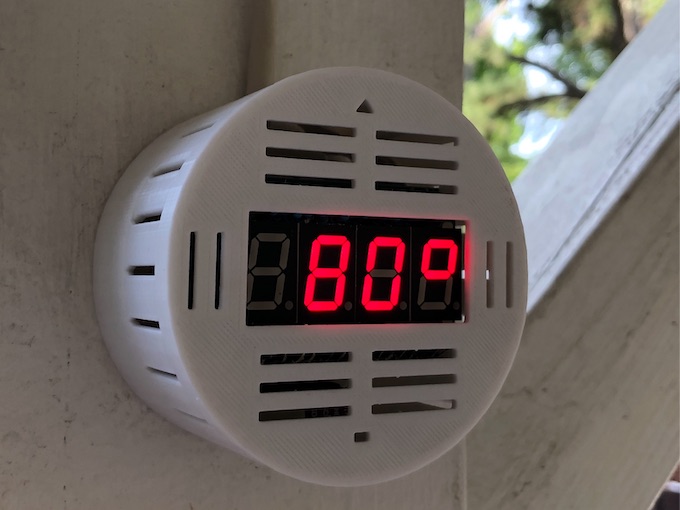
This project will show you how to build an ATtiny85 based mini Weather Station that displays temperature, humidity and pressure using four easy to read 7-segment LEDs.
Requirements
This sketch requires a version of the Wire library that is compatible with the ATtiny85 for the I2C communication to work with the BME-280 sensor. I used the ATTinyCore arduino core by Spence Konde which has a version of the Wire library that works with the ATtiny85. I was able to use the standard Adafruit_BME280 library to pull data from the BME-280. You can install ATTinyCore by putting the board manager URL in the Arduino IDE preferences:
http://drazzy.com/package_drazzy.com_index.json
Set the board to the ATtiny85 chip at 1Mhz (internal).
Circuit
Components:
- ATiny85 Microcontroller (DigiKey)
- BME-280 Sensor (Temperature, Pressure, Humidity) (Amazon)
- 74HC595 8-bit Shift Register (Qty 4) (DigiKey)
Sensors
- 7-Segment LED Display (Qty 4) (DigiKey)
- 0.1uF Ceramic Capacitor (Qty 2)
- 100uF Electrolytic Capacitor
- 5V Power Supply (Alternatively you can use a 5V Solar cell, 3.7V lithium ion battery and a TP4056 constant-current/constant-voltage linear charger to charge the battery during the day).
Schematic

ATtiny85 Microcontroller

Programming Notes:
Code for this project is located on Github: https://github.com/jasonacox/ATtiny85-Weather-Station
I2C communication with BME-280 uses pins PB0/SDA and PB2/SCL. If you use the Tiny AVR Programmer from Sparkfun or something similar, keep in mind that it drives an LED on PB0 which will interfere with I2C communication. You will need to remove the chip from the programmer after uploading to get it to work in the circuit.
Memory Warning
This sketch uses nearly all of the ATtiny85 program storage space (8K) so you may get an overflow error if the libraries change or you add any code. To address this, I created a minimized BME280 library to reduce the PROGMEM space required. You will need to download and install the Tiny_BME280_Library library in:
~/Documents/Arduino/libraries/ directory and restart the Arduino IDE.
Display
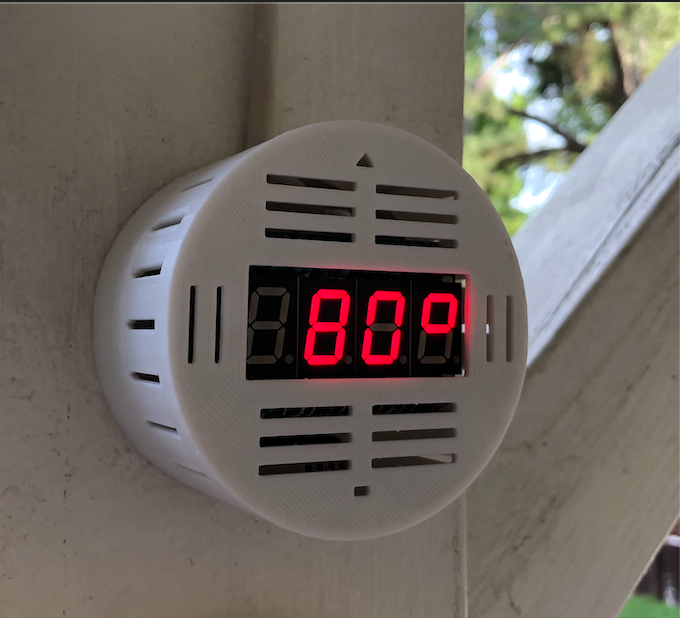
  [ 70'] - Temperature in degree F
  [ 24r] - Relative Humidity %
  [_970] - Pressure in hPa with rising/falling animation
  [ 21c] - Temperature in degree C
Construction
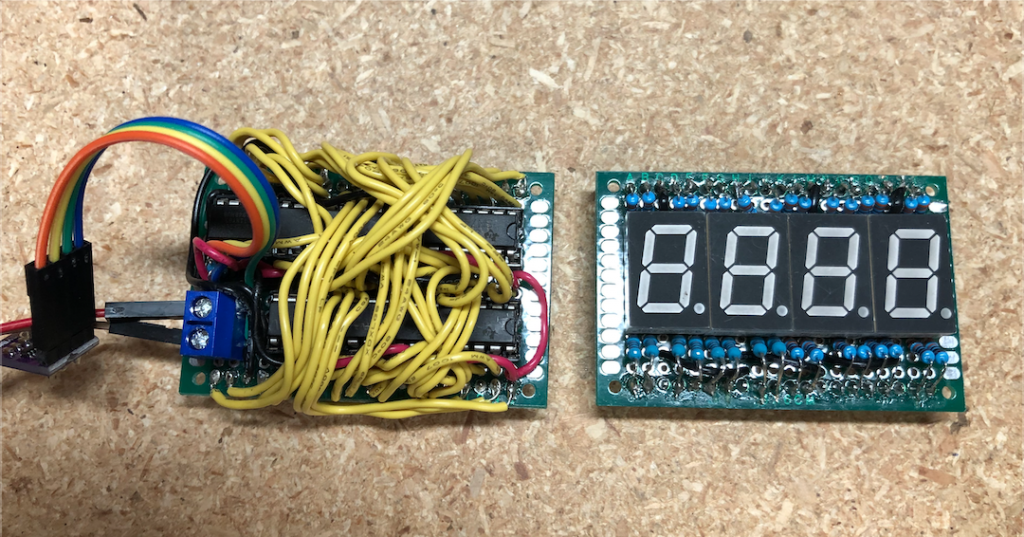
I used two circuit boards: Display and Logic board. The Display board holds the four 7-segment LEDs with the array of resistors. On the back are header pins that plug in to the logic board. The Logic board holds the 4 register chips and the ATtiny85. On the back are headers for the Display board to plug in.
Logic and Display boards:
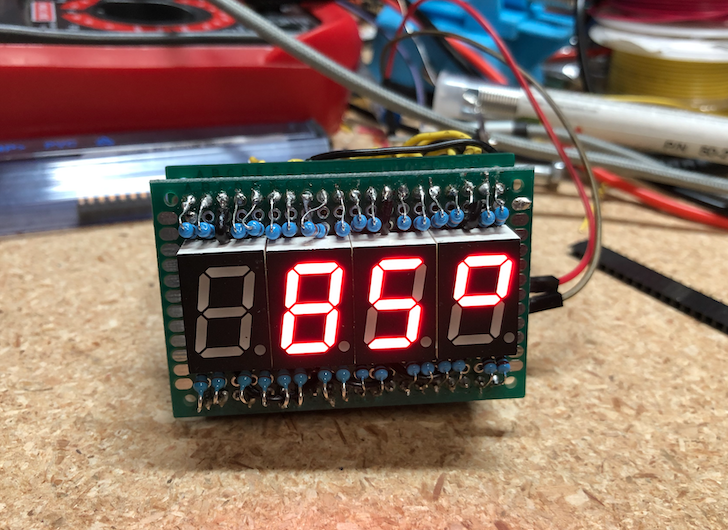
Both boards together and running:
I printed a simple cylinder case (Thingiverse) to mount the weather station and have it on the back patio:
Power Supply
The circuit will run on 5V or 3.3V. I used an existing solar panel, battery and TP4056 charger circuit to power this project with a 3.3V regulator.
